


 中文简体
中文简体 Español
 Français
Designed to meet the demanding electrical needs of modern vehicles, the 12V 150A 11064/0124615009 Bosch car alternator for AUDI A4 1.6L, 1.8L, 2.0L is a trusted solution for AUDI A4 owners. Boasting a...
See Details

Get A Quote
Bad Starter vs Bad Alternator: Symptoms, Diagnosis, and Replacement Guide
Sep 02, 2026
A customer calls and says the car makes a click but will not turn over. Another report comes in: the engine starts, then dies after five minutes and the battery warning light is on. Both complaints involve the starting and charging system, but they point to different failures. If you can match the symptom to the right component in less than a minute, you avoid wasted labor, unnecessary parts, and an angry customer who is paying for work that did not fix the problem.
Content
Why the Starter and Alternator Are Often Confused
Both parts sit near the engine and both can cause a vehicle to stop running. That similarity is where the comparison ends. The starter is an electric motor that draws current from the battery to crank the engine until combustion begins. It works only for a few seconds during each start. The alternator is a generator that runs continuously once the engine is running. It charges the battery and supplies power to the headlights, ignition, sensors, and every other electrical load.
Because they serve different jobs, their failure signatures are distinct. A bad starter leaves you with a car that will not crank. A bad alternator leaves you with a car that starts normally but cannot sustain the electrical system or keep the battery charged. Understanding this distinction is the foundation for accurate diagnosis. You can read more about common alternator problems and the typical signs linked to each one.
Symptom Comparison at a Glance
The table below summarizes the most common symptoms. Use it as a quick reference when a customer describes what happened at the moment of failure.
| Symptom | Bad Starter | Bad Alternator |
|---|---|---|
| Engine cranking | No crank, or a single click from the solenoid | Engine cranks and starts normally |
| Headlights | Dim at start, drain the battery during cranking | Work at start, then dim as the battery drains |
| While driving | Vehicle stays running until the next restart | Stalls or dies after 5 to 30 minutes |
| Battery voltage | Drops during cranking, recovers after charging | Reads below 12.6V with the engine running |
| Noise | Click, grinding, or whir from the starter area | Bearing whine or belt screech that changes with RPM |
| Smell | Burning wire smell from a welded solenoid | Burning rubber smell from a slipping belt |
Step-by-Step Diagnosis That Takes Minutes
Do not let a single symptom decide the repair. Run a short diagnostic sequence to confirm the failed component before you sell a replacement.
Step 1 - Test the battery
Take a voltage reading with the vehicle off. A healthy battery sits around 12.6V. If it reads below 12.4V, charge it and retest. A weak battery produces symptoms that mimic a bad starter, especially a slow crank or a single click. Charge the battery first, then re-evaluate. A load test or conductance tester gives a clearer view of remaining capacity.
Step 2 - Measure charging voltage
Start the engine and connect a voltmeter to the battery terminals. A good alternator should deliver 13.8V to 14.4V at idle. If the reading is 12.6V or lower, the alternator is not producing enough current to charge the battery. Readings above 15V indicate a failing regulator inside the alternator. Either condition means the unit must be replaced.
Step 3 - Check the starter circuit under load
If the battery is good and charging voltage is normal, move to the starter. Have a helper turn the key while you watch a voltmeter at the starter solenoid terminal. A good starting circuit should maintain at least 10V during cranking. A reading that falls below 9.5V points to high resistance in the cables, a poor connection at the battery, or a burned starter contact. When the battery reads fully charged, the voltage at the solenoid is normal, and the engine still does not crank, the starter itself is open or the solenoid is not engaging.
Step 4 - Confirm with the jump-start test
Jump-start a vehicle with a completely dead battery. If the engine starts and stays running, the alternator is producing current. If the engine starts but dies within 10 to 20 minutes while the jumper cables are attached, the alternator has failed. If the engine will not crank even with a full charge, the starter is the likely culprit.
For 24V trucks and heavy equipment, follow the same sequence with the system at rest and the batteries in good condition. The tolerance points stay the same: charge voltage should remain 27.6V to 28.8V, and voltage drop across the starting circuit should not exceed 0.5V per connection.
Why Misdiagnosis Costs More Than a Wrong Part
Installing a new starter when the alternator is bad leaves the customer in the same situation after one day. The second visit is rarely covered by warranty, and the shop absorbs the labor. There is also a durability risk: a faulty alternator that overcharges or undercharges can damage a new battery within weeks. Conversely, a weak starter that draws excessive current can damage a healthy battery by demanding more than the alternator can replenish.
In fleet environments, a misdiagnosed alternator does not just hurt a single vehicle. It pulls a unit out of service and sends it back for a second repair, which shifts the entire maintenance schedule. A 24V truck or an excavator with a charging system failure will not run for more than a short distance, which makes accurate, quick diagnosis a financial decision, not just a technical one.
- Test the battery before replacing the starter: a discharged battery causes click symptoms in more than 30% of no-start cases.
- Never reuse an old drive belt with a new high-output alternator; belt slip reduces charging current and can damage the alternator over time.
- Record the alternator output amperage before ordering. Installing a lower-amperage unit on a vehicle with extra accessories will still produce a low-voltage complaint.
Choosing a Replacement Alternator After the Diagnosis
Once you confirm the alternator is the failed component, match the original voltage and amperage as closely as possible. The vehicle identification number and the old part number are the fastest route. For a shop that services several brands, keeping a broad stock of popular alternators reduces downtime. Browse our alternator catalog to find models that fit the vehicles you see most often.
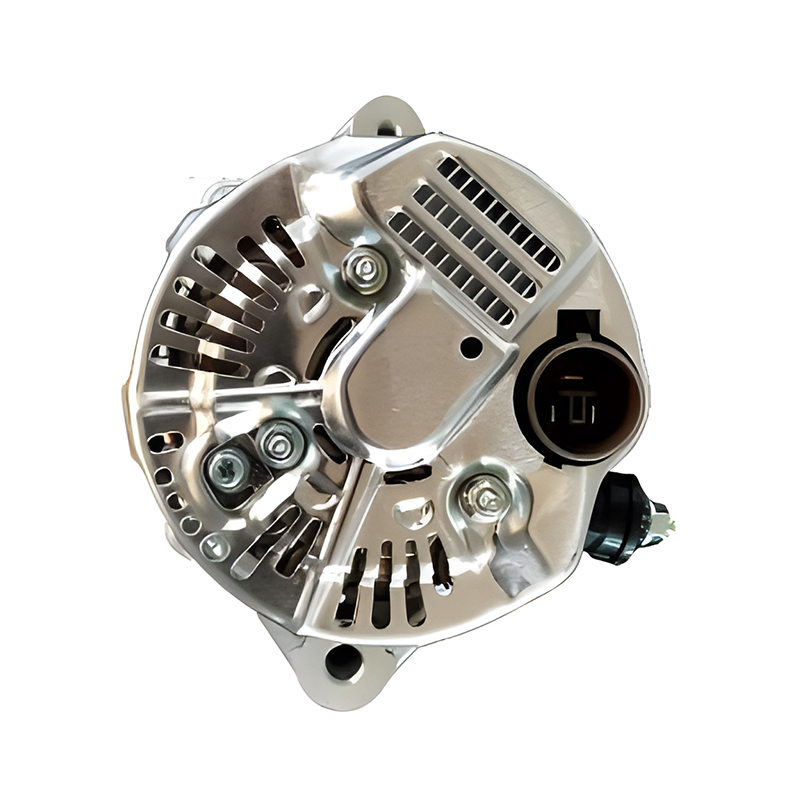 12V 80A DENSO Alternator for Toyota Camry with 6-Groove PulleyThis DENSO alternator matches the Camry's original 12V, 80A output and 6-groove pulley, ensuring reliable charging and easy fitment. It helps shops service common Camry models with minimal downtime.View Product →
 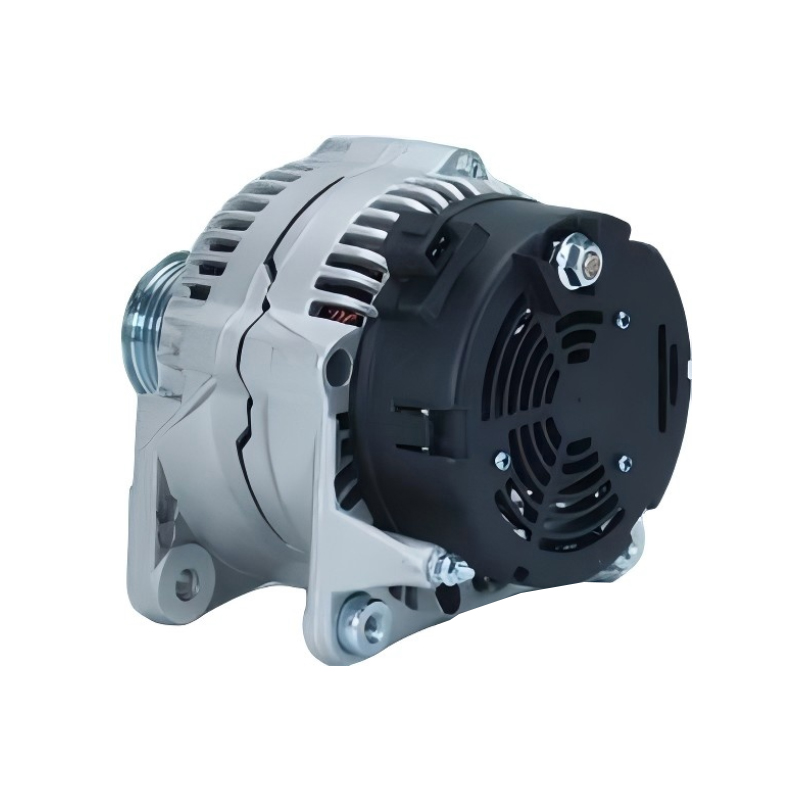 12V 90A Bosch Alternator for VW Golf and Jetta 1.6L-2.0LA Bosch replacement for popular VW Golf and Jetta engines, offering 90A output and OEM compatibility. Stocking this unit supports quick swaps for common models in your service bay.View Product →
 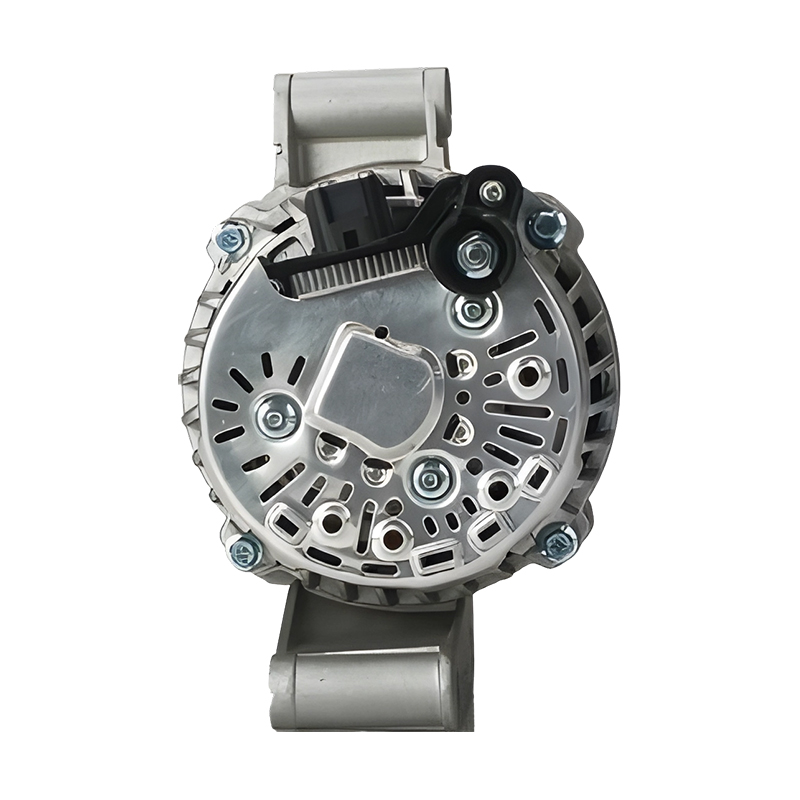 12V 100A Bosch Alternator for Ford Fiesta with Rocam EngineDesigned for Ford Fiesta petrol Rocam engines, this 100A Bosch alternator provides stable power and precise fit. It's a practical choice for shops covering Ford's compact car segment.View Product →
These examples cover popular sedans and compact cars from Japanese and European manufacturers. For heavy-duty trucks, the same selection principle applies: confirm 12V or 24V configuration, choose the correct amperage for the vehicle's electrical load, and prefer a 100% new unit over a remanufactured one when the vehicle needs dependable uptime.
Conclusion: Diagnose First, Replace Once
Bad starter and bad alternator symptoms overlap in the eyes of an unfamiliar owner, but they rarely overlap in a test bench. The starter is a device that should be tested only after you confirm the battery is charged and the charging system is healthy. The alternator is confirmed by a simple voltage check at idle. When you follow that sequence, you install the correct replacement on the first repair, which is what separates a durable operation from a shop that keeps returning the same car.
Related products
-
-
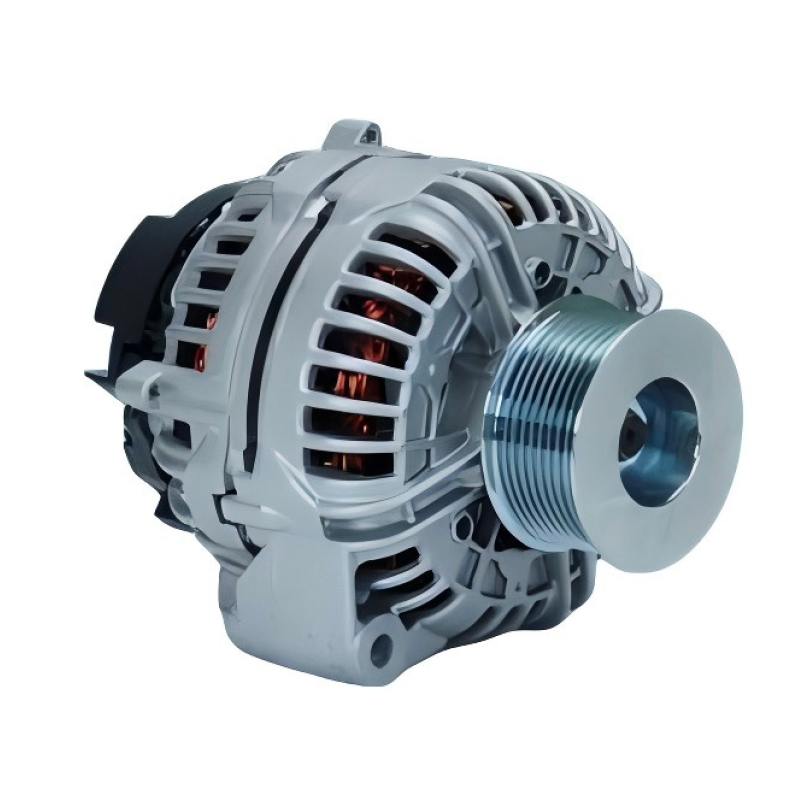
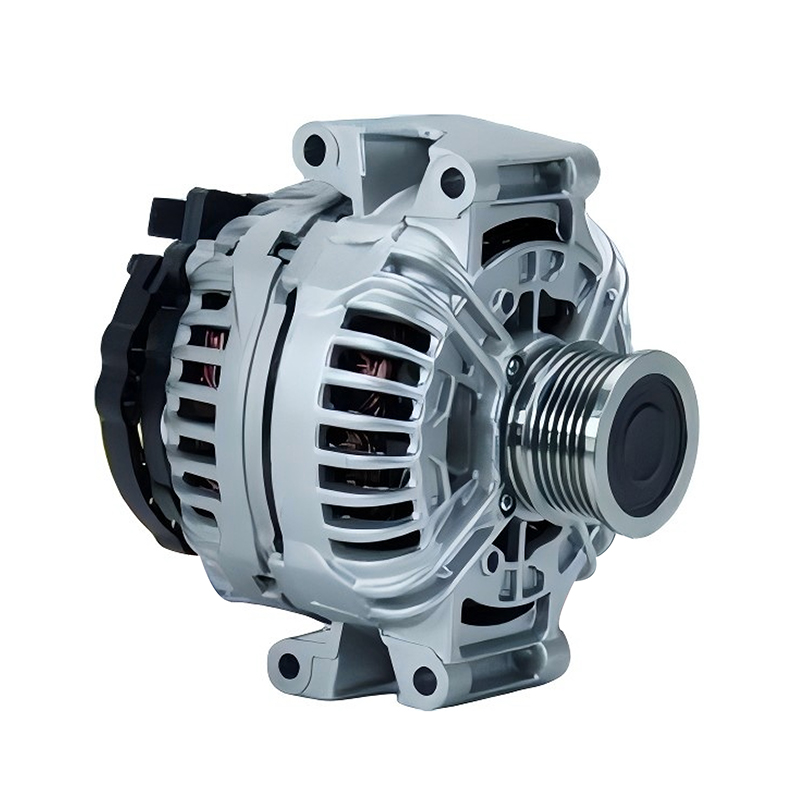
When it comes to keeping your JOHN DEERE 2007-2009 model running smoothly, a reliable alternator is non-negotiable—and the 12V 200A 12796/0124625030 Bosch car alternator for JOHN DEERE 2007-2009 is en...
See Details -
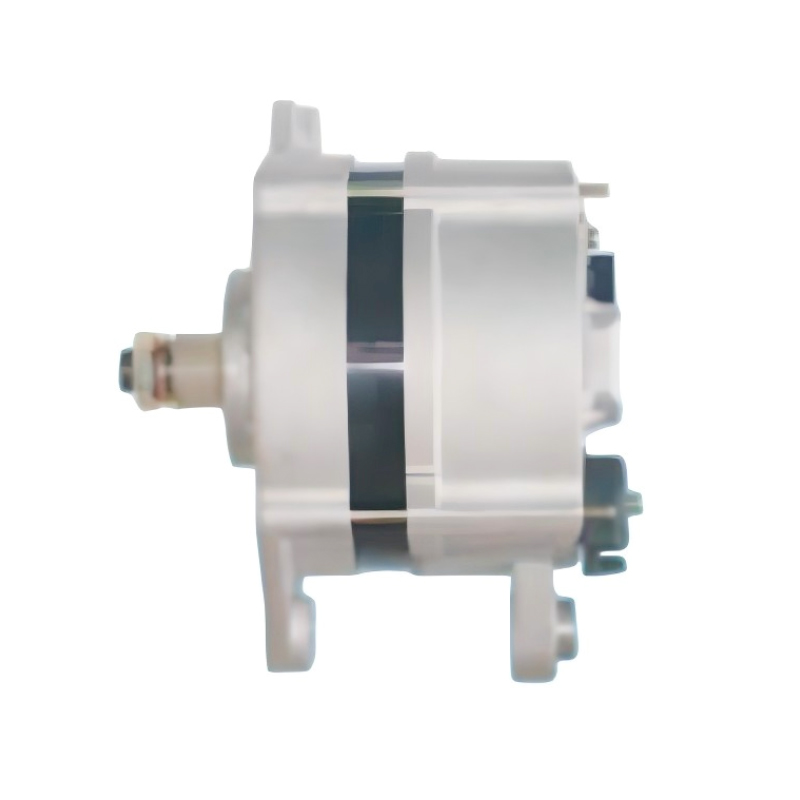
The 24V 55A 12135/0120469978 Bosch car alternator for IVECO EuroCargo EuroTrakker 100E15 90E37 is a reliable power solution specifically engineered for the IVECO EuroCargo EuroTrakker 100E15 90E37 eng...
See Details -
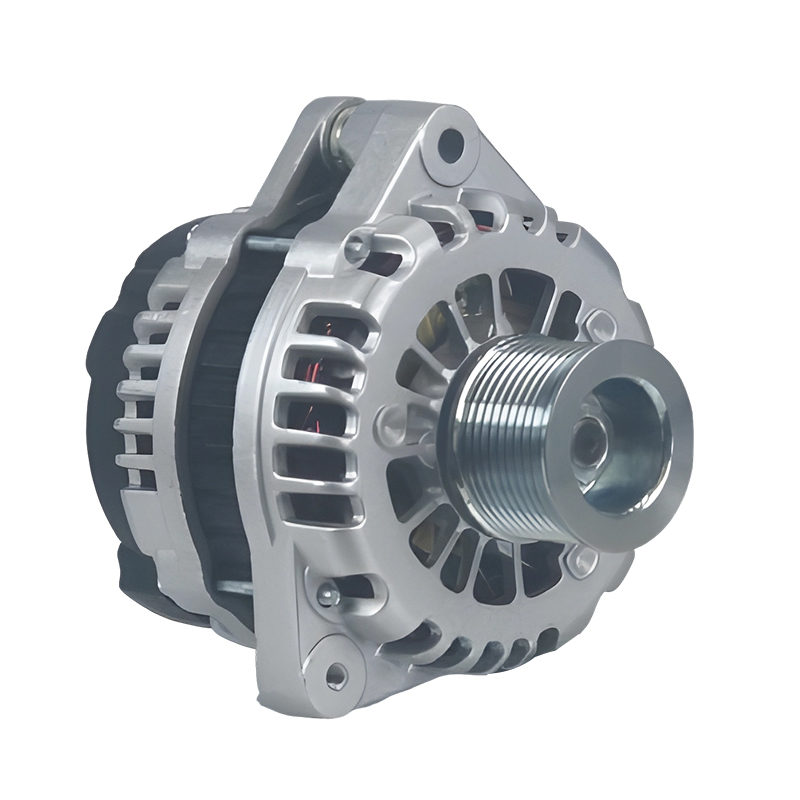
A reliable power solution for commercial and passenger vehicles, the 24V 90A 20289N/0123520500 Bosch car alternator for Hongyan,Genlyon,Saic,lveco,Howo,Weicha is engineered to deliver consistent perfo...
See Details -
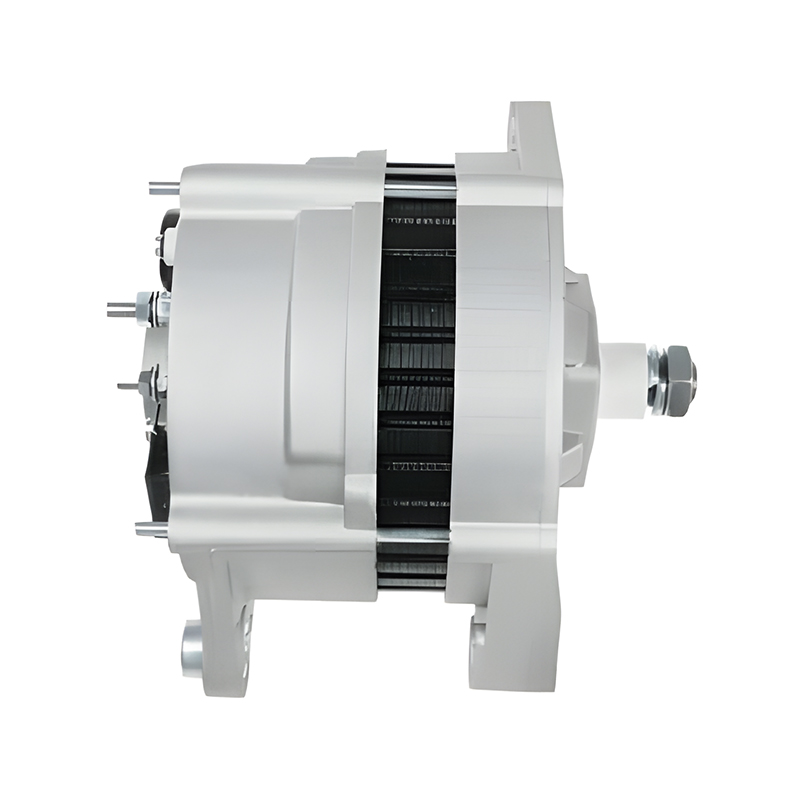
Designed as a reliable power solution for the IVECO 100 E15 engine series, the 24V 80A 12709/0120468116 Bosch car alternator for IVECO 100 E15 combines precision engineering with durable performance t...
See Details -
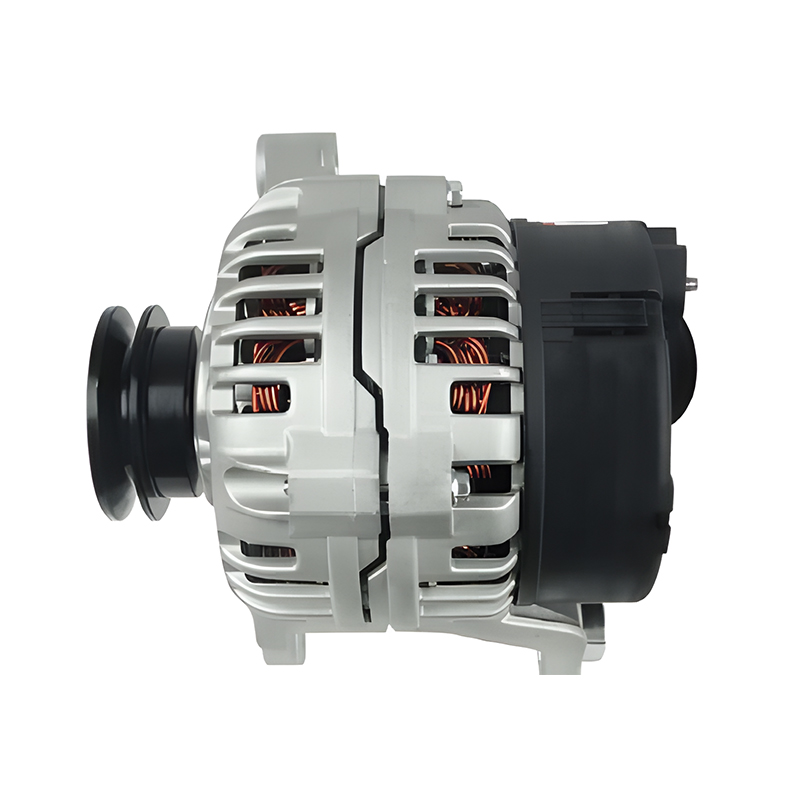
The 12V 90A 0123315503/112406 Bosch car alternator for IV ECO DAIY is a high-quality replacement part specifically designed for the IV ECO DAIY engine series, offering reliable performance to meet the...
See Details

Contact Information
-
Production Plant:No.19, West Taihu Avenue, Wujin District, Changzhou City, Jiangsu Province, China
-
Email:
-
Phone:+86 157 2060 1523
-
TEL:+86-519 8639 0626
Copyright © 2025 Changzhou Hancheng Auto Parts Co., Ltd. All Rights Reserved.
PrivacyAutomotive Alternators Manufacturers High Output Car Alternator Factory
