


 中文简体
中文简体 Español
 Français
The 24V 80A 23527/0124555010 Bosch car alternator for FARYMAN Engines Deutz, IHC 16.1L F10L is designed to provide continuous power and reliable performance. It is a high-end replacement solution spec...
See Details

Get A Quote
Alternator Parts Diagram: Understanding Every Component in Your Charging System
Sep 15, 2026
If you have ever opened the hood and wondered what is actually spinning inside that cylindrical unit bolted to the engine block, you are not alone. The alternator is one of the most dependable components in a vehicle, but when it begins to fail, a little knowledge about its construction can save you time, money, and a very inconvenient breakdown. From the rotor and stator to the voltage regulator, every alternator part has a specific job. In this guide, we break down each component, explain how the parts work as a team, and show you what to check when it is time to buy a replacement.
Content
The Alternator at a Glance
An alternator converts mechanical energy from the engine into electrical energy. The engine turns a belt that spins the alternator pulley; inside the housing, a rotating magnetic field sweeps across stationary wire windings and generates alternating current. That AC is then converted into the direct current that the vehicle's battery and electrical system actually use. Most passenger vehicles run on a 12V system, while many trucks, buses, and construction machines use 24V. Output current ranges from about 40A in small economy cars to 250A in high-output units built for commercial fleets or heavily loaded vehicles.
Even though the units look different from brand to brand, the basic architecture of an alternator has remained unchanged for decades. Once you recognize the standard parts, the same knowledge applies whether you are working on a compact Japanese sedan, a European luxury car, a farm tractor, or a heavy-duty truck.
Alternator Parts Diagram: Every Component Explained
The clearest way to visualize an alternator is to divide it into three functional groups: the rotating assembly, the stationary windings, and the electrical control components. The table below works as a simplified alternator parts diagram, mapping each part to its function.
| Part | Function | Why It Matters |
|---|---|---|
| Rotor | Creates a rotating magnetic field | The core of power generation; a failed rotor coil means zero output |
| Stator | Houses the windings where current is induced | Where AC voltage is actually produced |
| Pulley | Transfers belt drive from the engine | A worn or mismatched pulley causes belt noise and low charging |
| Slip rings and brushes | Carry field current to the rotating rotor | Worn brushes are among the most common alternator failures |
| Rectifier / diode pack | Converts AC to DC | A failed diode causes flickering lights and battery drain |
| Voltage regulator | Controls field current to maintain stable voltage | Keeps output near 13.5-14.8V in 12V systems |
| Bearings | Support the rotor shaft | Worn bearings create grinding or whining noises |
| Housing and fan | Protect internal parts and provide cooling | Overheating accelerates diode and winding failure |
| Output terminals | Deliver DC to the battery and loads | Loose or corroded terminals cause voltage drops |
Rotor and Stator: The Heart of Generation
The rotor and stator define the rated output of any alternator. The rotor is a steel shaft with claw poles and a field winding; when battery current flows through the winding, the rotor becomes an electromagnet with alternating north and south poles. As it spins, those magnetic poles pass the stator windings and induce alternating current in them. The stator is built from thin laminated steel rings with copper windings arranged in three phases. If the rotor field winding develops a short, the unit may continue to spin quietly but will produce nothing, because there is no longer a magnetic field.
Brushes, Rectifier, and Voltage Regulator: The Electrical Brain
The brushes and slip rings are the bridge between the static wiring harness and the spinning rotor. They feed a small field current into the rotor winding, which controls the strength of the magnetic field and therefore the total output. The rectifier, normally a six-diode pack arranged in a three-phase bridge, converts the AC from the stator into DC. The voltage regulator completes the system by sensing the battery voltage and adjusting the field current so that charging remains steady under changing engine speed and electrical load.
Because these electrical parts carry continuous current and heat, they tend to wear out before the mechanical parts do. A compact 90A Bosch-style unit designed for the Volkswagen Golf is a typical example of an alternator in which all of these elements work together in a small, efficient package.
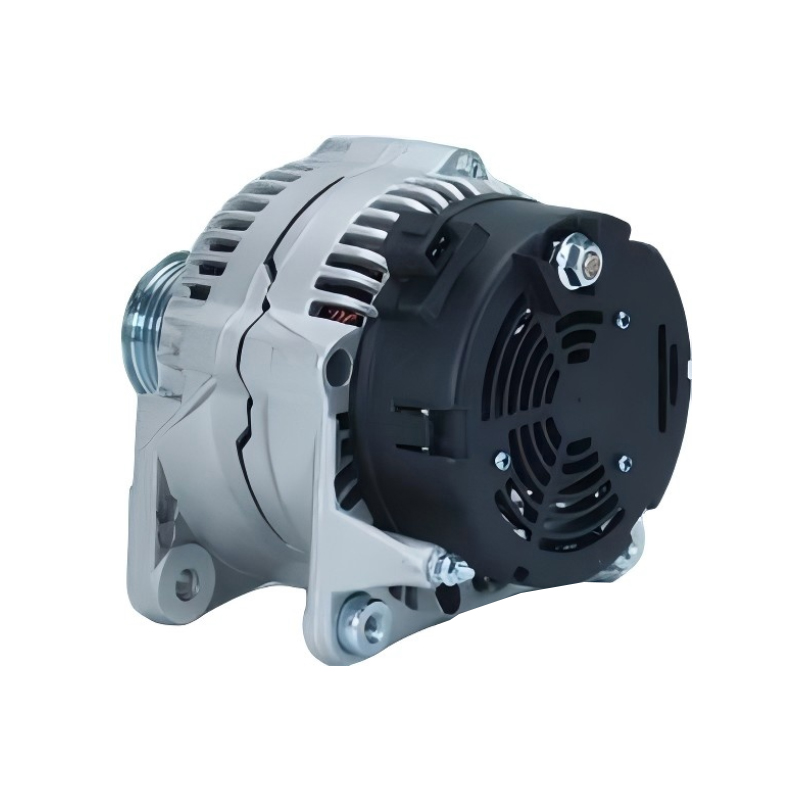 12V 90A Bosch Alternator for VW Golf and Jetta 1.6L-2.0LThis compact 90A Bosch-style unit for Volkswagen Golf and Jetta engines replaces several OE part numbers and includes an internal regulator, making it a practical choice when tracing charging-system faults.View Product →
How the Parts Work Together
It helps to trace the energy path from the engine belt to the battery terminals. The sequence below follows an alternator through one complete charging cycle.
- The engine belt rotates the alternator pulley and the rotor shaft.
- Voltage from the battery reaches the rotor field winding through the brushes and slip rings, creating an electromagnetic field.
- As the rotor spins, its magnetic field sweeps across the stator windings and induces alternating current.
- The diode pack rectifies the AC into DC.
- The voltage regulator reads system voltage and adjusts field current to keep charging output stable.
- DC current flows through the output terminal to the battery and the vehicle's electrical loads.
This loop happens continuously while the engine runs. When any link in the chain weakens, the first signs usually appear at idle: the battery loses charge slowly, the headlights dim, or the warning lamp starts glowing.
Common Failure Signs and Which Part Is Responsible
Most alternator failures give plenty of warning before the vehicle finally stops. The key is connecting the symptom to the specific alternator part.
- Dim headlights at idle or flickering interior lights: frequently a failing rectifier diode or worn brush contact that reduces field current.
- Grinding or honing noise from the front of the engine: worn front or rear bearings.
- Burning smell around the alternator: overheated stator windings, often caused by a seized bearing or excessive electrical load.
- A battery that keeps discharging after a fresh charge: the voltage regulator may be overcharging, or the unit may not be producing enough current.
- An alternator warning light that comes and goes: intermittent brush contact or a loose output terminal connection.
Learning to recognize these clues is useful because it tells you whether the entire alternator needs replacement or whether the trouble is in the wiring, the battery, or the belt. If you want to explore this topic in more depth, our guide to common vehicle alternator problems covers diagnostics from a workshop perspective.
When the diagnosis does point to a failed internal part, the practical decision is usually whether to rebuild or replace. Rebuilding adds labor cost and leaves the risk of age-related wear in other components. A factory-grade replacement restores predictable performance. For example, replacing the unit on a Toyota Camry with a Denso-style 12V 80A alternator returns the charging system to its original behavior without component-level guesswork.
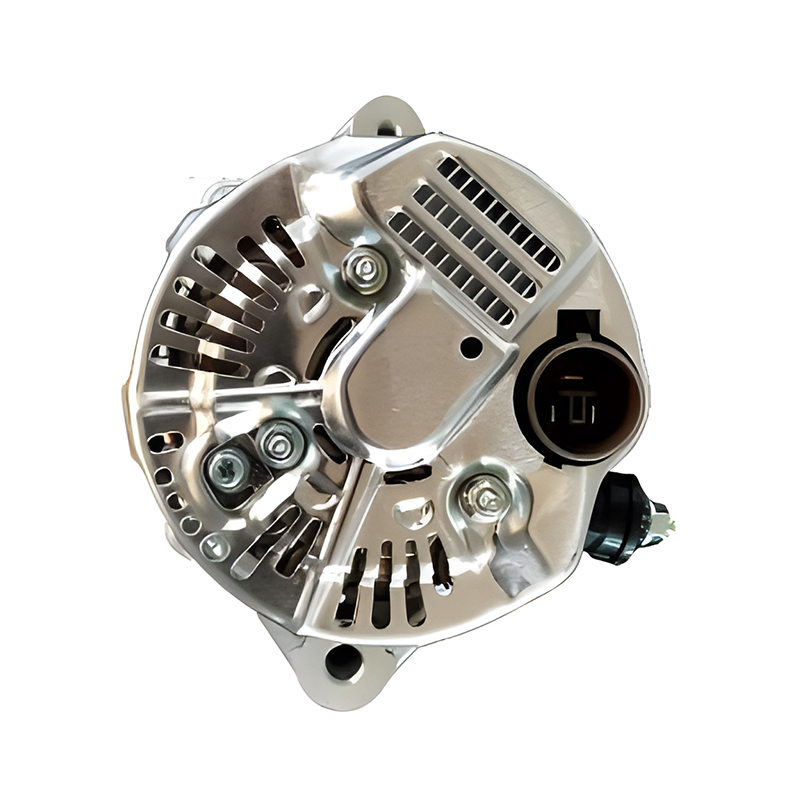 12V 80A Denso Alternator for Toyota Camry with 6-Groove PulleyA Denso-style 80A alternator engineered for Camry models with a 6-groove pulley. Its spec-matched mounting and output help restore original charging behavior without guesswork during replacement.View Product →
Choosing a Replacement: Match the Parts, Not Just the Price
When the time comes to install a new alternator, the most important step is matching the original specifications. The mounting pattern, pulley style, connector shape, voltage, and current rating all have to line up. A unit with a lower current rating than the original will undercharge in demanding situations, while a much higher-rated unit may overload the budget of the vehicle's original wiring. That is why we always tell customers to check the original part number, the voltage, and the amperage before ordering.
For vehicles with high electrical demand, such as a BMW 3 Series with heated seats, upgraded audio, or auxiliary lighting, a higher-output alternator is worth considering. A 150A Valeo-style alternator for the BMW E46 shows how the same set of alternator parts can be engineered to deliver more current while keeping the same mechanical layout.
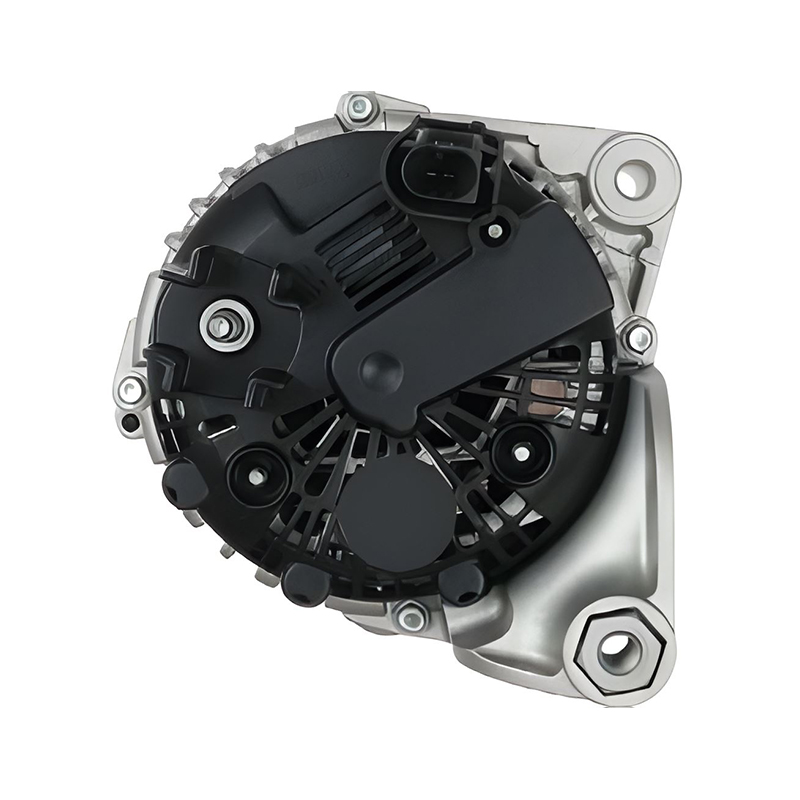 12V 150A Valeo Alternator for BMW E46, E53, E83 M57D30For BMW 3 Series vehicles with high electrical loads, this 150A Valeo-style alternator keeps the same mechanical layout while delivering higher current, supporting heated seats, audio, and auxiliary lighting.View Product →
One question we hear often is whether a rebuilt alternator is just as good as a new one. In our experience as a factory, there is no substitute for fresh copper windings, new bearings, and new diodes. That is why our production line builds only 100% new alternators, and why we encourage buyers to ask the same question of any supplier.
Whether the alternator is going into a passenger car, a delivery truck, a tractor, or an excavator, the parts described in this diagram guide are the same parts that decide its service life. If you can identify the unit by brand, voltage, and current, you are already close to the correct replacement.
Final Thoughts
Understanding alternator parts is not just an academic exercise. When you know what the rotor, stator, diode pack, and voltage regulator do, you can talk more confidently with a technician, avoid unnecessary repairs, and choose a quality unit the first time. Keep this alternator parts diagram in mind the next time a warning light appears, and remember that a well-matched new alternator is a small component with a very large influence on your peace of mind.
If you are ready to find the right unit for your vehicle, the team at Changzhou Hancheng Auto Parts is glad to help you match the correct alternator parts to your application. As a factory that produces new units day after day, we know exactly what goes into every box that leaves our workshop.
Related products
-
-
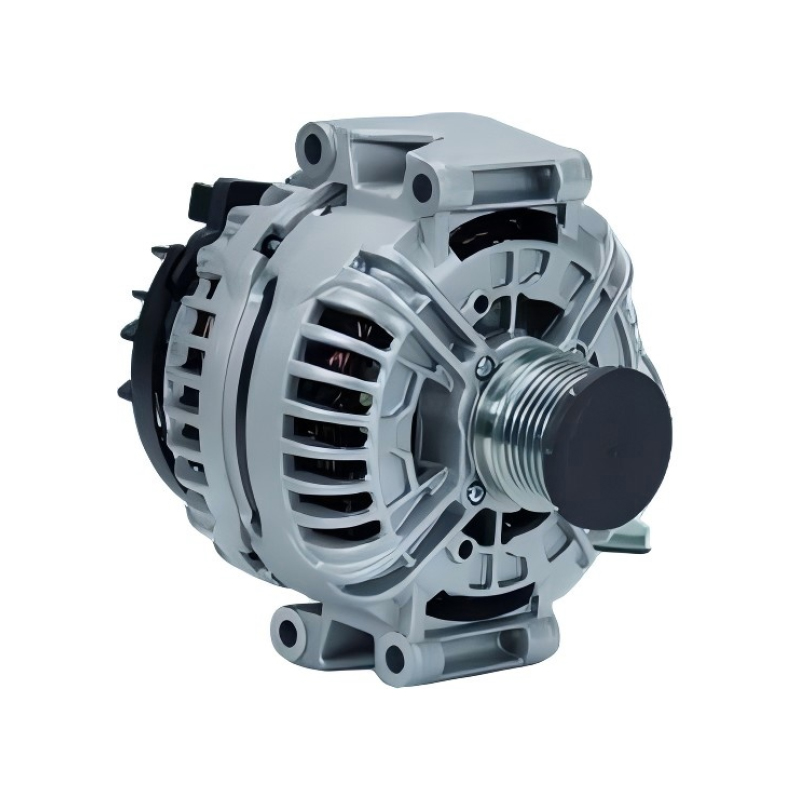
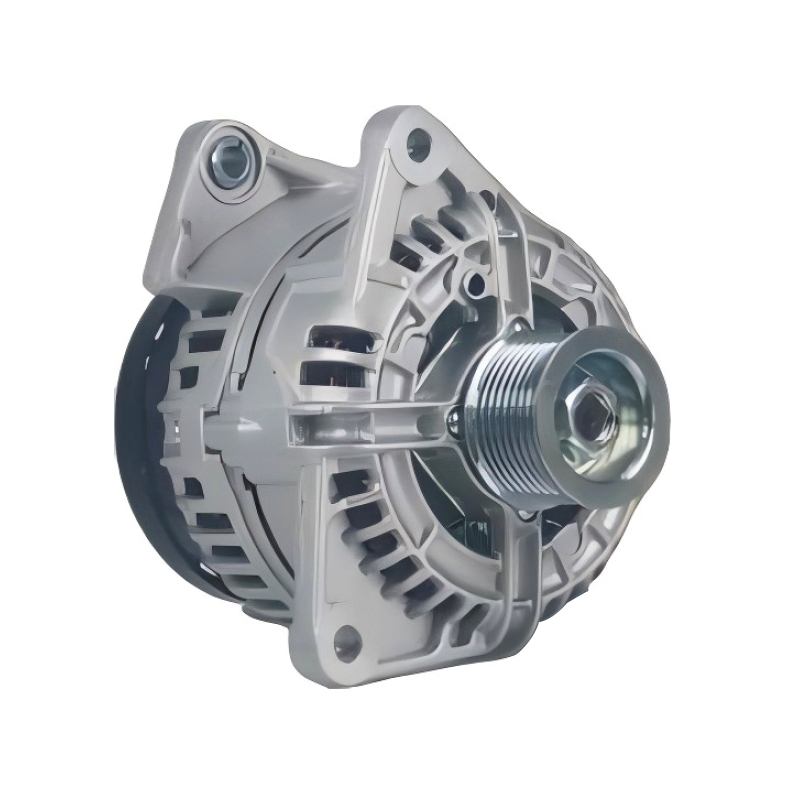
Designed as a reliable replacement for MERCEDES BENZ Sprinter, Vito, and Viano models equipped with the CDi2.1L engine, the 12V 200A 0124625006 Bosch car alternator for MERCEDES BENZ Sprinter/vito/via...
See Details -
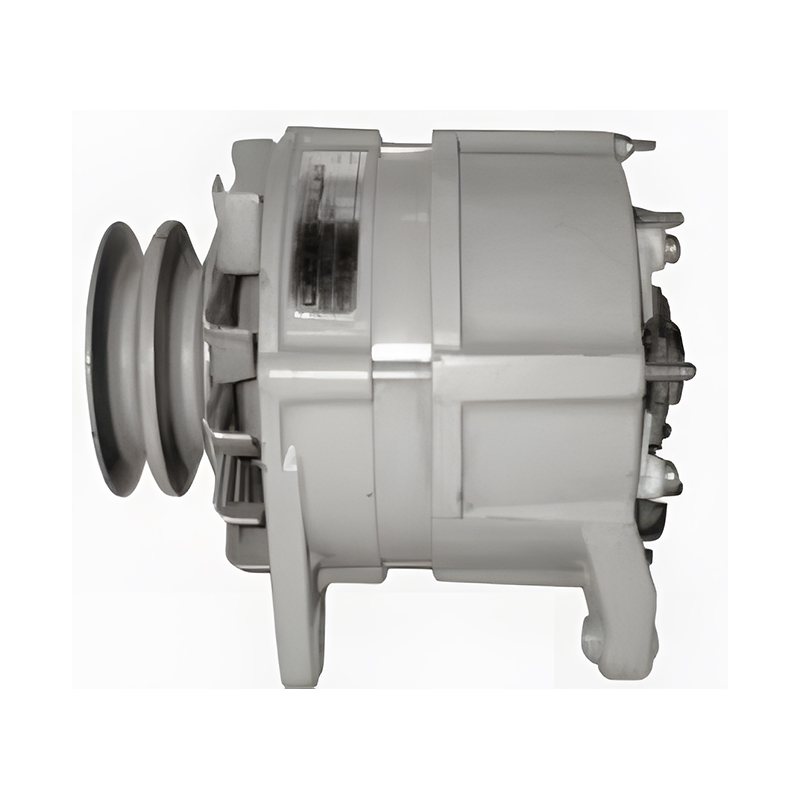
The 12V 70A 14054/0120488286 Bosch car alternator for CATERPILLAR LOADER 3054 ENGINE/perkins is a high-performance replacement part specifically engineered for CATERPILLAR LOADER models equipped with ...
See Details -
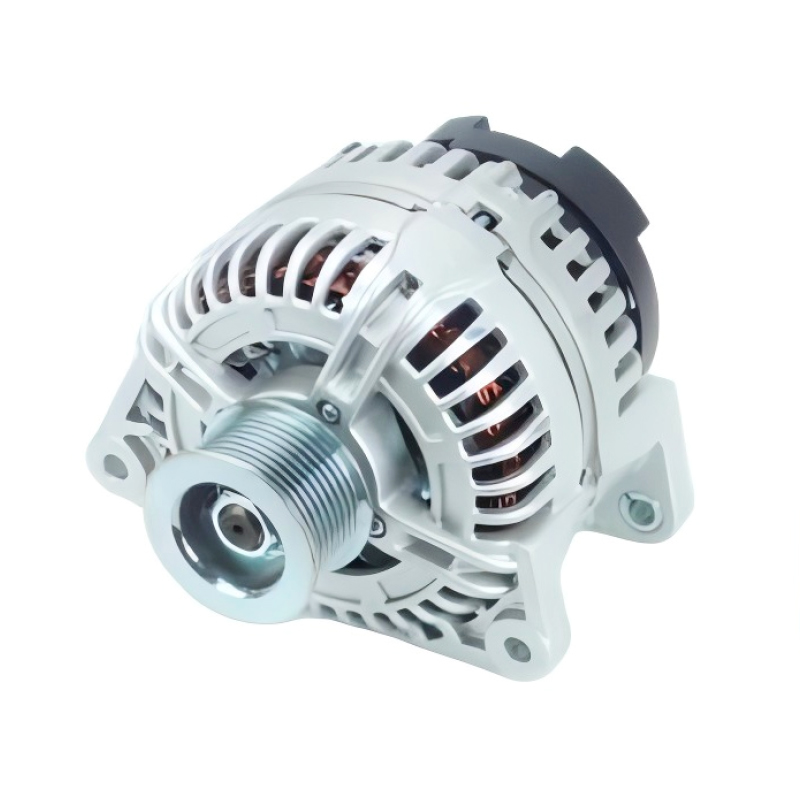
The 24V 100A 370100386 Bosch car alternator for Jinlong CMB YUCHAI YC4D140-20 is a high-quality power supply component meticulously designed for the Jinlong CMB YUCHAI YC4D140-20 engine series. As a t...
See Details -
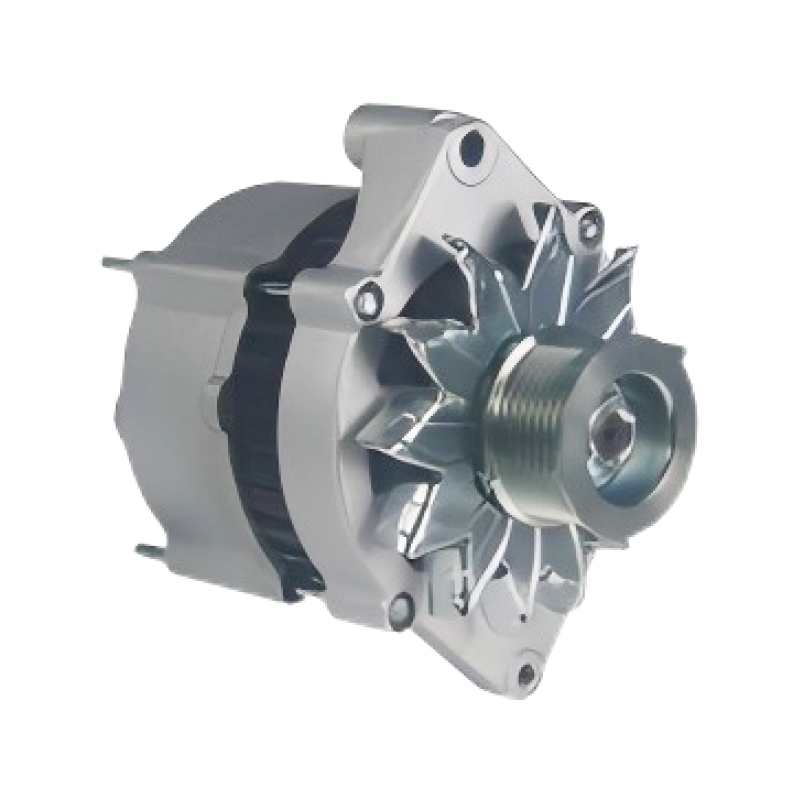
The 12V 120A 12373/0120484027 Bosch car alternator for Cummins 5.9L Diesel JOHN DEERE Combines 9540 is engineered specifically for Cummins 5.9L Diesel JOHN DEERE Combines 9540, delivering reliable pow...
See Details -

Designed to meet the rigorous demands of heavy-duty machinery, the 24V 27A 12031/012489023 Bosch car alternator for ATLAS Excavators KHD F10L413V/F8L413V Engine is a reliable power solution tailored f...
See Details

Contact Information
-
Production Plant:No.19, West Taihu Avenue, Wujin District, Changzhou City, Jiangsu Province, China
-
Email:
-
Phone:+86 157 2060 1523
-
TEL:+86-519 8639 0626
Copyright © 2025 Changzhou Hancheng Auto Parts Co., Ltd. All Rights Reserved.
PrivacyAutomotive Alternators Manufacturers High Output Car Alternator Factory
