


 中文简体
中文简体 Español
 Français
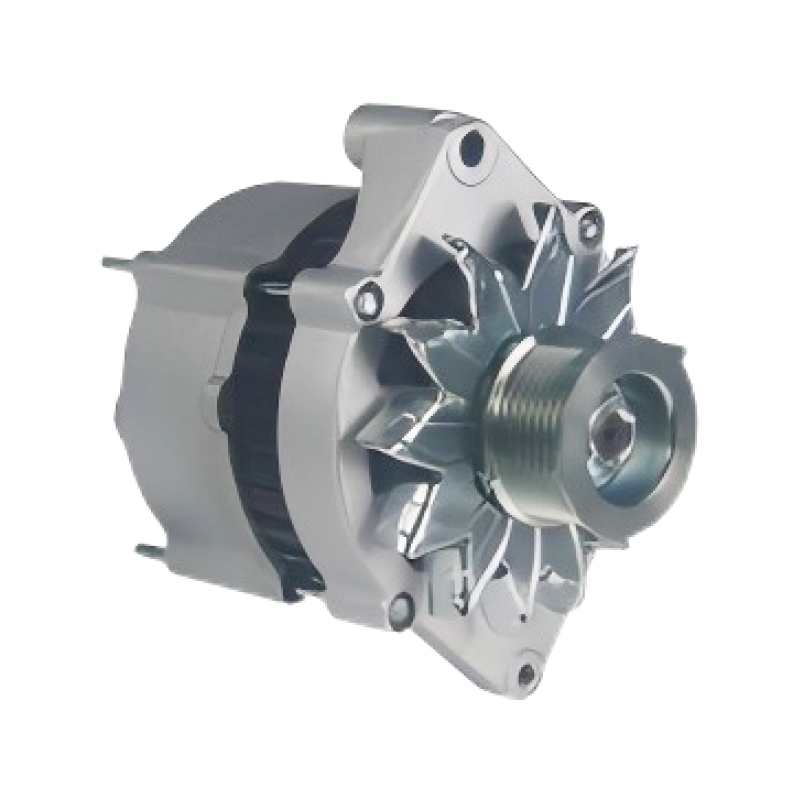
The ZKM32330 automotive alternator operates at a rated voltage of 24V DC system with a continuous output current of 80A, featuring an integrated internal voltage regulator. It is suitable for various ...
See DetailsGet A Quote
What Do You Need to Know Before Replacing a Lucas Austin Car Alternator?
Apr 09, 2026
Content
Understanding the Lucas Austin Alternator
The Lucas alternator has been a defining component in classic British cars, particularly Austin models produced from the 1960s through the 1980s. Manufactured by Joseph Lucas Ltd, these units were standard fitment on vehicles such as the Austin Allegro, Austin Maxi, Austin 1300, and various Marina and Princess models. While robust by the standards of their era, decades of use mean that worn brushes, failed diodes, seized bearings, or degraded windings are now common failure points that require a full alternator replacement rather than a rebuild.
Lucas produced two widely used alternator families for Austin vehicles: the Lucas 15ACR and the Lucas 17ACR/18ACR series. The 15ACR outputs approximately 28–34 amps and suits smaller-engined Austin models, while the 17ACR and 18ACR deliver 36–43 amps for vehicles with higher electrical loads. Identifying which unit is fitted before sourcing a replacement is essential — the part number is typically stamped on the alternator body or listed in the vehicle's workshop manual.
Tools and Parts You Will Need
Preparing the correct tools and a verified replacement unit before starting will save significant time and prevent avoidable errors. Lucas Austin alternators use imperial fixings on older vehicles, so a mixed imperial and metric socket set is advisable.
- Socket set (imperial and metric, 3/8" drive recommended)
- Combination spanners (7/16", 1/2", 9/16" and common metric equivalents)
- Fan belt tension gauge or a straight rule for deflection measurement
- Multimeter capable of reading DC voltage (0–20V range)
- Penetrating oil (for corroded mounting bolts)
- Replacement alternator (new, remanufactured, or a verified serviceable used unit)
- Replacement fan belt if the existing one shows cracking or glazing
- Dielectric grease for electrical connectors
When sourcing a replacement, verify that the pulley diameter and the number of wire terminals match the original unit. Lucas 15ACR units use a three-terminal plug (large brown main feed, small brown/yellow warning light, and white field terminal), while 17ACR/18ACR units may have a slightly different connector configuration. Mismatched connectors are a leading cause of post-installation charging faults.
Step-by-Step Replacement Procedure
Step 1 — Disconnect the Battery
Always disconnect the negative (earth) terminal of the battery before touching any alternator wiring. Lucas alternators have a direct unfused connection between the main output terminal and the battery positive. Shorting this terminal against the engine block while the battery is connected will instantly damage the diode pack and may cause a fire. Wrap the disconnected terminal in a cloth or tape it to prevent accidental contact.
Step 2 — Slacken and Remove the Fan Belt
Locate the adjuster bolt on the alternator's slotted adjustment bracket. Loosen this bolt first, then loosen the pivot bolt at the base of the alternator. Push the alternator body toward the engine to create slack in the belt, then slip the belt off the alternator pulley. Do not lever against the alternator body using a screwdriver tip — the aluminium casting is easily cracked, particularly on older units.
Step 3 — Disconnect the Wiring Loom
With the belt removed, disconnect the multi-pin plastic connector from the rear of the alternator. On some Austin models this is a push-fit spade connector block; on others, individual spade terminals are used. Note which terminal carries which wire colour before removal — a photograph taken on a phone is a reliable reference. The large brown wire connects to the main output (B+) terminal, which on Lucas ACR units is typically a threaded stud secured with a nut. Remove the nut and carefully lift the ring terminal away.
Step 4 — Remove the Alternator
With the belt and wiring disconnected, fully remove the adjuster bolt and the main pivot bolt. The alternator can then be lifted clear of the engine bay. On some transversely mounted Austin engines, access to the lower pivot bolt is restricted — a combination spanner rather than a socket may be needed. Apply penetrating oil to the pivot bolt threads 15–20 minutes in advance if any corrosion is visible.
Step 5 — Fit the Replacement Unit
Offer the replacement alternator into position, aligning the pivot lug with the mounting bracket. Insert the pivot bolt finger-tight, then insert the adjuster bolt through the slotted bracket. Do not tighten either bolt fully at this stage. Reconnect the wiring in reverse order — main output stud first, then the multi-pin connector. Ensure ring terminals are fully seated on the stud and the retaining nut is torqued to approximately 4–5 Nm (finger-tight plus a firm quarter turn).
Step 6 — Refit and Tension the Fan Belt
Fit the fan belt over the alternator pulley, crankshaft pulley, and water pump pulley. Lever the alternator away from the engine using a wooden handle or block — never a metal bar against the casing — until the correct tension is achieved. The standard deflection for most Austin fan belts is 10–13 mm (approximately 3/8"–1/2") under moderate thumb pressure at the longest belt run. Once correct tension is set, tighten the adjuster bolt followed by the pivot bolt to their specified torque values.
Key Precautions to Observe
Mistakes during alternator replacement on classic Lucas-equipped vehicles account for a high proportion of post-installation electrical faults. The following precautions directly address the most common failure causes.
- Never run the engine with the alternator disconnected from the battery. Doing so causes a voltage spike that destroys the diode pack within seconds. This applies even for a brief test run.
- Do not use a battery charger to jump-start the vehicle while the alternator is connected unless the charger is rated as "alternator safe." High-current boost chargers can reverse-bias and permanently damage the diodes.
- Check the earth strap continuity between the engine block and the body before fitting the new unit. A poor earth on Lucas positive-earth conversions or standard negative-earth systems causes chronic undercharging and premature alternator failure regardless of the unit's condition.
- Do not overtension the fan belt. Excessive tension places abnormal radial load on the alternator's front bearing, reducing its service life from tens of thousands of miles to a few thousand.
- Inspect the wiring loom for chafing or brittle insulation before reconnecting. Aged PVC wiring on classic Austins frequently cracks at loom bends — a short circuit at the alternator output can destroy the new unit within minutes of start-up.
Post-Installation Checks and Voltage Testing
After installation, reconnect the battery and start the engine. Allow it to idle for two minutes, then connect a multimeter across the battery terminals. A correctly functioning Lucas alternator on an Austin should produce a charging voltage between 13.8 V and 14.4 V DC at idle with minimal electrical load. Increase engine revs to approximately 2,000 rpm — voltage should rise marginally (14.0–14.7 V) and remain stable.
Switch on the headlights and rear window heater to impose a load. Voltage should remain above 13.5 V. If voltage drops below 13.0 V under load at 2,000 rpm, suspect a poor earth connection, a faulty voltage regulator within the new unit, or a wiring fault between the alternator and the battery. The warning light on the instrument panel should extinguish immediately on start-up — if it remains lit dimly, a diode fault or wiring reversal is the most likely cause.
| Test Condition | Expected Voltage | Action if Outside Range |
|---|---|---|
| Idle, no load | 13.8 – 14.4 V | Check earth strap, check regulator |
| 2,000 rpm, no load | 14.0 – 14.7 V | Inspect wiring, verify belt tension |
| 2,000 rpm, full load | ≥ 13.5 V | Test diodes, check loom connections |
Sourcing a Reliable Replacement Lucas Alternator
Replacement Lucas ACR alternators are available from three main sources: new old stock (NOS) units, professionally remanufactured units, and used examples. NOS units are increasingly rare and command premium prices; they offer the advantage of original specification components but may have deteriorated seals or capacitors after decades of storage. Professionally remanufactured units from reputable rebuilders are often the most cost-effective choice — look for suppliers who replace diode packs, brushes, bearings, and the voltage regulator as standard rather than only testing and cleaning original parts.
Used alternators sourced from salvage yards carry significant risk unless the seller can demonstrate a recent charging test result. A used unit that "worked when removed" tells you little about its diode health or brush wear. For vehicles used regularly or covering significant mileage, a remanufactured unit with a warranty is strongly recommended over an untested used example. Specialist suppliers focusing on classic British car electrical components often stock both 15ACR and 17ACR units with confirmed output specifications, and some offer a core exchange programme that reduces the total cost.
Related products
-
-

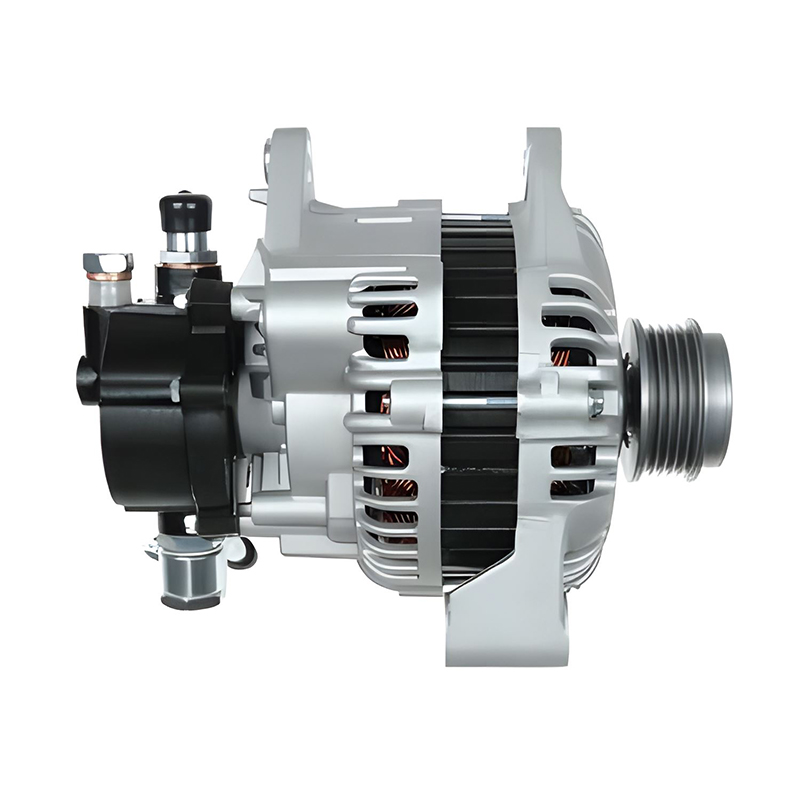
The ZKM31102 automotive alternator operates at a rated voltage of 12V DC system with a continuous output current of 75A, featuring an integrated internal voltage regulator. It is suitable for various ...
See Details -
The ZKM31108B automotive alternator operates at a rated voltage of 24V DC system with a continuous output current of 30A, featuring an integrated internal voltage regulator. It is suitable for various...
See Details -
Designed specifically for the Dongfeng Renault DCI11 Tianlong DFL425 engine series, this 24V 80A BF4M101326E3/D5010480575 CHINA car alternator for Dongfeng Renault DCI11 Tianlong DFL425 delivers relia...
See Details -
The 12V 95A 12145/0120484011 Bosch car alternator for CASE Crawler Dozer 650K Series 3 Case 4.5L is a high-quality replacement part specifically engineered for the CASE Crawler Dozer 650K Series 3 equ...
See Details -
The ZKM 82027A model automotive alternator is rated for a 12V DC system with a continuous output current of 110A. It features an integrated internal voltage regulator, suitable for various commercial ...
See Details
Contact Information
-
Production Plant:No.19, West Taihu Avenue, Wujin District, Changzhou City, Jiangsu Province, China
-
Email:
-
Phone:+86 157 2060 1523
-
TEL:+86-519 8639 0626
Copyright © 2025 Changzhou Hancheng Auto Parts Co., Ltd. All Rights Reserved.
PrivacyAutomotive Alternators Manufacturers High Output Car Alternator Factory
