


 中文简体
中文简体 Español
 Français
The 24V 55A 12135/0120469978 Bosch car alternator for IVECO EuroCargo EuroTrakker 100E15 90E37 is a reliable power solution specifically engineered for the IVECO EuroCargo EuroTrakker 100E15 90E37 eng...
See Details

Get A Quote
How Do You Replace a China Haval Car Alternator Correctly?
Jun 09, 2026
Content
- 1 Understanding the Role of a Haval Car Alternator
- 2 Signs That a Haval Alternator Needs Replacement
- 3 Tools and Materials Required
- 4 Preparing the Vehicle for Alternator Replacement
- 5 Removing the Serpentine Belt
- 6 Disconnecting Alternator Wiring
- 7 Removing the Old Haval Alternator
- 8 Installing the New Alternator
- 9 Reinstalling the Serpentine Belt
- 10 Testing the New Alternator
- 11 Common Mistakes to Avoid During Replacement
- 12 Conclusion
Understanding the Role of a Haval Car Alternator
The alternator is one of the most critical electrical components in any Haval vehicle. Whether you drive a Haval H6, Jolion, H9, or another model from China's leading SUV manufacturer, the alternator is responsible for generating electricity while the engine is running and maintaining battery charge. Without a properly functioning alternator, the battery will gradually lose power, causing electrical systems to fail and eventually preventing the engine from running.
Modern Haval vehicles contain numerous electronic systems, including infotainment displays, engine control modules, climate control systems, power windows, sensors, and advanced driver-assistance technologies. All of these systems depend on a stable electrical supply generated by the alternator.
When an alternator begins to fail, replacing it promptly helps prevent unexpected breakdowns and protects sensitive electrical components. Although specific procedures may vary slightly between Haval models, the replacement process follows similar principles across most vehicles.
Signs That a Haval Alternator Needs Replacement
Before replacing an alternator, it is important to confirm that it is actually the source of the problem. Many symptoms associated with alternator failure can also be caused by battery issues, loose wiring, or damaged belts.
Common Warning Signs
- Battery warning light remains illuminated on the dashboard.
- Headlights become dim or flicker while driving.
- Electrical accessories operate inconsistently.
- Battery repeatedly loses charge.
- Grinding or whining noises come from the alternator area.
- Engine becomes difficult to start despite a healthy battery.
If multiple symptoms occur simultaneously, a charging system test should be performed to verify alternator failure before beginning replacement.
Tools and Materials Required
Having the correct tools ready before starting the job will make the replacement process smoother and safer. Depending on the Haval model, some tool sizes may vary, but the following equipment is commonly required.
| Tool or Material | Purpose |
| Socket set | Removing mounting bolts |
| Ratchet and extensions | Accessing hard-to-reach fasteners |
| Wrench set | Disconnecting electrical connections |
| Serpentine belt tool | Releasing belt tension |
| Replacement alternator | New charging unit |
| Safety gloves | Hand protection |
| Safety glasses | Eye protection |
| Multimeter | Testing charging voltage |
Using quality tools reduces the risk of damaging bolts, connectors, and surrounding components during the replacement process.
Preparing the Vehicle for Alternator Replacement
Safety should always be the first priority when working on a vehicle's electrical system. Before touching the alternator, park the vehicle on a flat and stable surface. Engage the parking brake and switch off the ignition.
Open the hood and locate the battery. Disconnect the negative battery terminal first to eliminate the risk of electrical shorts. In some Haval models, removing engine covers or intake ducting may be necessary to gain access to the alternator.
Take a few minutes to visually inspect the alternator location and surrounding components. Understanding the layout before disassembly helps prevent mistakes later in the process.
Removing the Serpentine Belt
The alternator is driven by the engine's serpentine belt. Before the alternator can be removed, belt tension must be released.
Locate the belt tensioner assembly. Most Haval engines use an automatic spring-loaded tensioner. Insert the appropriate tool or ratchet into the tensioner and rotate it according to the manufacturer's design. This relieves belt tension and allows the belt to be removed from the alternator pulley.
Before removing the belt completely, take a photograph or draw a diagram showing the belt routing. This reference will be valuable during reinstallation.
Inspecting the Belt During Removal
While the belt is removed, inspect it carefully for cracks, glazing, frayed edges, or excessive wear. Replacing a worn serpentine belt at the same time as the alternator can prevent future maintenance issues and reduce labor duplication.

Disconnecting Alternator Wiring
Once the belt has been removed, the electrical connections can be disconnected. Most Haval alternators feature a primary charging cable secured by a nut and one or more electrical connectors attached to the voltage regulator.
Carefully remove the protective cover from the charging terminal if equipped. Use the correct wrench size to remove the retaining nut and disconnect the charging cable.
Next, disconnect any wiring harness connectors. Avoid pulling on the wires themselves. Instead, release the locking tabs and gently separate the connectors from the alternator housing.
Inspect all connectors for corrosion, loose terminals, or damaged insulation before installation of the new alternator.
Removing the Old Haval Alternator
The alternator is typically secured to the engine with two or more mounting bolts. Depending on the engine configuration, access may be available from the top of the engine bay or through the wheel well area.
Using the appropriate socket and extension, remove the mounting bolts while supporting the alternator. Once all fasteners have been removed, carefully lift or maneuver the alternator out of its mounting location.
In some Haval SUVs, surrounding components such as coolant reservoirs, intake tubing, or protective shields may need to be temporarily removed to create sufficient clearance.
Compare the removed alternator with the replacement unit to verify that mounting points, pulley size, electrical terminals, and connectors match correctly.
Installing the New Alternator
Position the new alternator in the mounting bracket and align the bolt holes. Install all mounting bolts by hand initially to prevent cross-threading.
After proper alignment is confirmed, tighten the bolts according to the vehicle's torque specifications. Secure mounting is essential to prevent vibration and ensure proper belt alignment.
Reconnect the charging cable and all electrical connectors. Verify that each connection is clean, secure, and properly seated. Loose electrical connections can cause charging issues even when a new alternator has been installed.
Reinstalling the Serpentine Belt
Using the belt routing diagram or reference photo, reinstall the serpentine belt onto all pulleys. Ensure the belt sits correctly within every pulley groove.
Rotate the tensioner again to create sufficient slack, position the belt over the alternator pulley, and slowly release the tensioner.
Inspect the entire belt path carefully. Even a slight misalignment can cause noise, belt wear, or charging problems after startup.
Testing the New Alternator
Reconnect the negative battery terminal after all components have been reassembled. Start the engine and observe the dashboard for warning lights.
Using a multimeter, measure battery voltage with the engine running. A properly functioning alternator will typically produce approximately 13.5 to 14.8 volts, depending on operating conditions and vehicle design.
Post-Installation Checks
- Verify the battery warning light remains off.
- Confirm stable charging voltage.
- Listen for unusual noises.
- Check for proper belt tracking.
- Test electrical accessories for normal operation.
A successful charging system test confirms that the replacement alternator is operating correctly and supplying adequate power to the vehicle.
Common Mistakes to Avoid During Replacement
Several avoidable errors can lead to installation problems. Forgetting to disconnect the battery can create dangerous electrical shorts. Improper belt routing may damage the belt or reduce alternator efficiency. Loose mounting bolts can cause vibration and premature component wear.
Installing an alternator with incorrect specifications is another common mistake. Always verify compatibility with the specific Haval model, engine type, and production year before purchasing replacement parts.
Additionally, failing to inspect wiring and belt condition may leave underlying problems unresolved, even after alternator replacement.
Conclusion
Replacing a China Haval car alternator is a manageable repair for experienced vehicle owners and technicians who follow proper procedures. By diagnosing the charging system correctly, preparing the necessary tools, safely removing the old alternator, installing a compatible replacement, and thoroughly testing the charging system afterward, you can restore reliable electrical performance and prevent future breakdowns.
Regular maintenance, periodic charging system inspections, and prompt attention to warning signs will help maximize alternator lifespan and keep your Haval operating efficiently under all driving conditions.
Related products
-
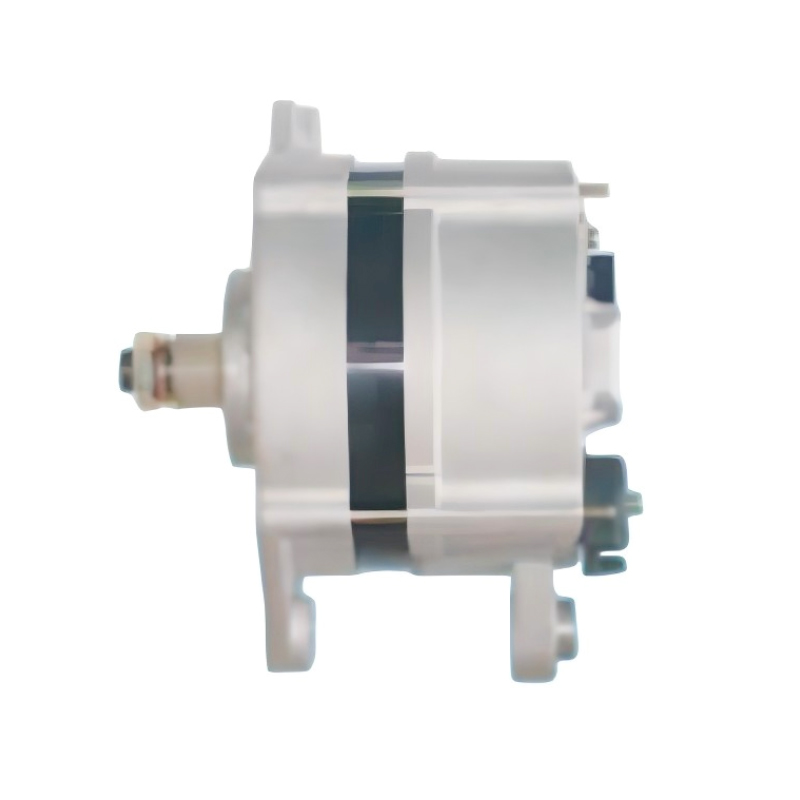
-
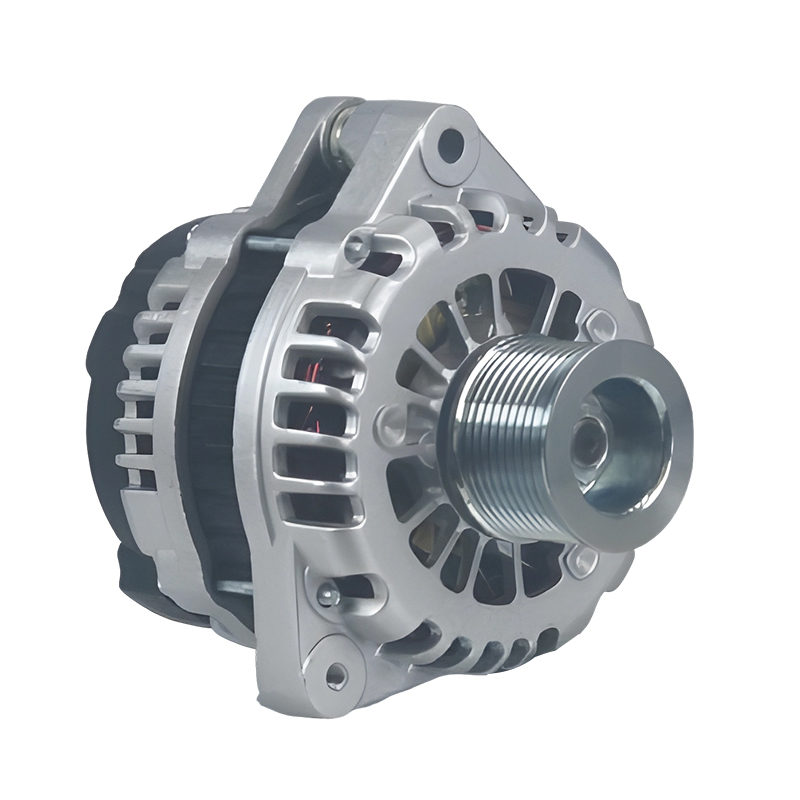
A reliable power solution for commercial and passenger vehicles, the 24V 90A 20289N/0123520500 Bosch car alternator for Hongyan,Genlyon,Saic,lveco,Howo,Weicha is engineered to deliver consistent perfo...
See Details -
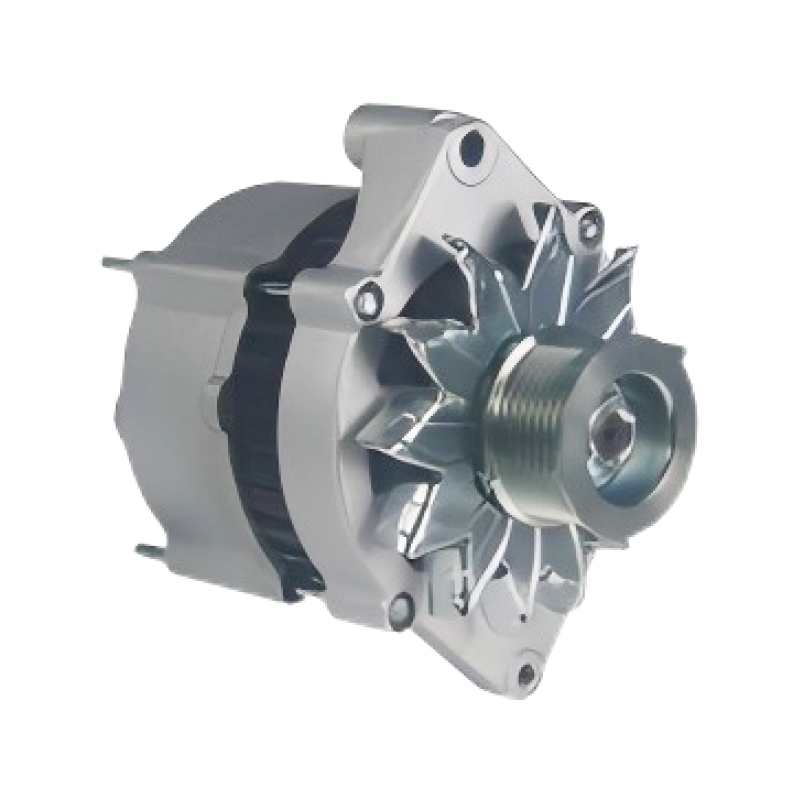
The 12V 95A 12145/0120484011 Bosch car alternator for CASE Crawler Dozer 650K Series 3 Case 4.5L is a high-quality replacement part specifically engineered for the CASE Crawler Dozer 650K Series 3 equ...
See Details -
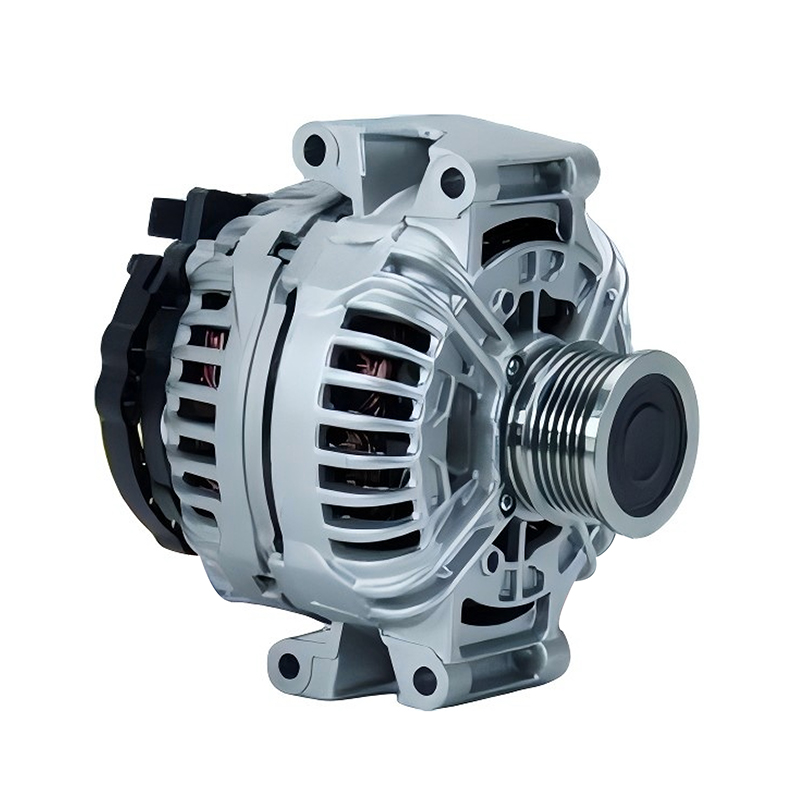
Designed to meet the demanding electrical needs of modern vehicles, the 12V 150A 11064/0124615009 Bosch car alternator for AUDI A4 1.6L, 1.8L, 2.0L is a trusted solution for AUDI A4 owners. Boasting a...
See Details -
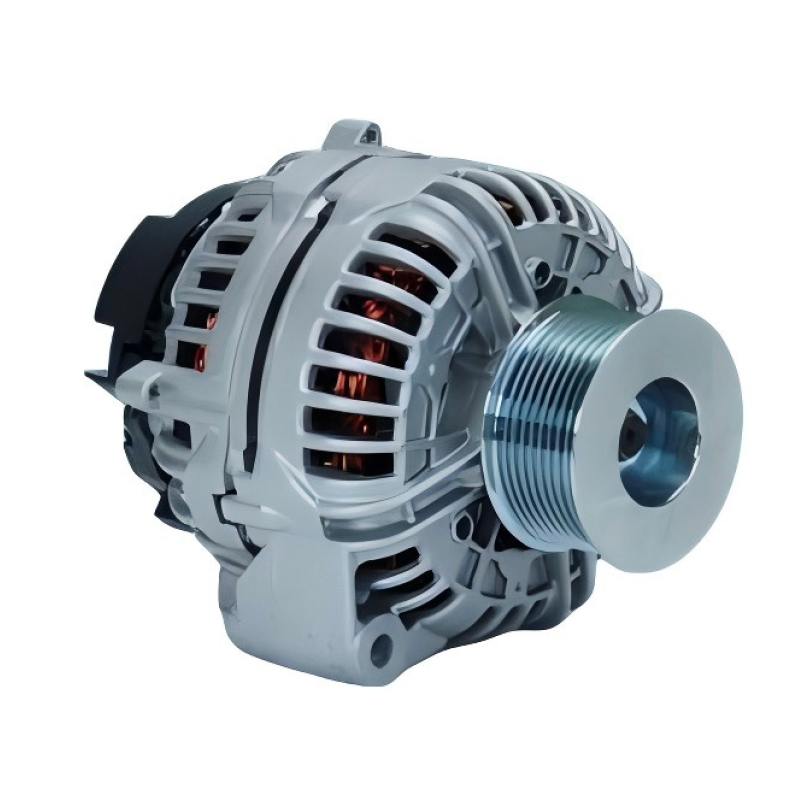
When it comes to keeping your JOHN DEERE 2007-2009 model running smoothly, a reliable alternator is non-negotiable—and the 12V 200A 12796/0124625030 Bosch car alternator for JOHN DEERE 2007-2009 is en...
See Details -
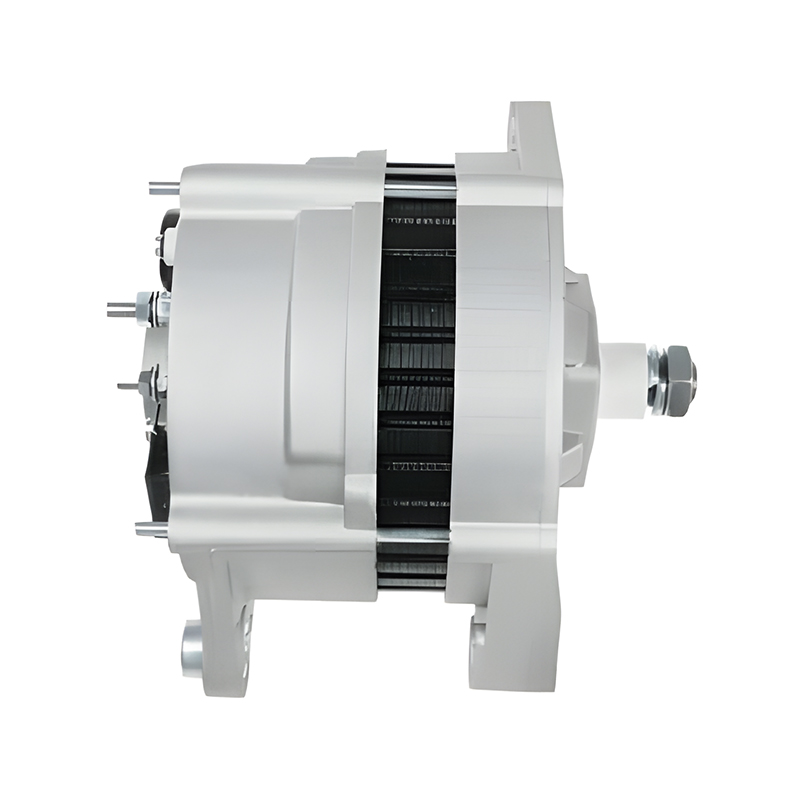
Designed as a reliable power solution for the IVECO 100 E15 engine series, the 24V 80A 12709/0120468116 Bosch car alternator for IVECO 100 E15 combines precision engineering with durable performance t...
See Details

Contact Information
-
Production Plant:No.19, West Taihu Avenue, Wujin District, Changzhou City, Jiangsu Province, China
-
Email:
-
Phone:+86 157 2060 1523
-
TEL:+86-519 8639 0626
Copyright © 2025 Changzhou Hancheng Auto Parts Co., Ltd. All Rights Reserved.
PrivacyAutomotive Alternators Manufacturers High Output Car Alternator Factory
